Ugh, cleaning the shower – who doesn’t dread this job? It’s like this whole workout routine where you’re bending, stretching, and scrubbing away. Plus, dealing with soap scum, mould, and mildew can just be plain grim. And don’t even get us started on those strong-smelling cleaning products – they can make you feel like you need a gas mask.
Despite being a bit of a bore, it’s an important job to do regularly to maintain healthy hygiene levels in the bathroom. Not to mention ridding unpleasant odours and preserving the overall aesthetic appeal of your shower. Regular cleaning will also extend the lifespan of the shower fixtures and surfaces, saving you money on potential repairs or replacements.
There’s no escaping it, so if we must do it, let’s ensure we’re all doing it efficiently. Here are our tips on how to clean any type of shower:

How To Clean The Showerhead
Cleaning a showerhead is important to ensure a steady and clean water flow. Overtime, mineral deposits and limescale can build up, leading to poor flow, blockages, and potential leaks. We recommend placing the showerhead in a bowl with some kettle descaler granules and warm water. If it is a fixed showerhead, then this would need to be disconnected from the arm beforehand or a spray type limescale remover would be required to clean it in position. It is very important not to use boiling water when cleaning as this will damage rubber seals inside the showerhead, and always rinse and chemicals off thoroughly afterwards.
Here’s a step-by-step guide on how to clean a showerhead effectively:
- Remove the showerhead: If your showerhead is detachable, simply unscrew it from the shower arm by turning it counterclockwise. If it’s fixed, you may need to wrap it with a cloth and use a wrench or pliers to carefully loosen it.
- Inspect the showerhead: Check for any visible debris or mineral deposits. If you see a significant amount of buildup, this is a clear indication that cleaning is needed.
- Soak in white vinegar, or as we recommend in some kettle descaler granules mixed with warm water: Fill a plastic bag or a small plastic container with your chosen cleaning solution.
- Submerge the showerhead in the solution, making sure the nozzles are fully covered. If the showerhead is detachable, you can also remove the nozzles and soak them separately.
- Secure the bag or container with a rubber band or zip tie to hold it in place.
- Let it soak: Allow the showerhead to soak in the cleaning solution for at least a few hours or overnight. The acidic nature of vinegar/descaler will help dissolve mineral deposits.
- Scrub the nozzles: After soaking, use a soft brush or an old toothbrush to scrub the nozzles and remove any remaining deposits. Be gentle to avoid damaging the showerhead.
- Rinse thoroughly: Remove the showerhead from the solution and rinse it thoroughly with water to remove any solution residue.
- Reattach the showerhead: If you detached the showerhead, screw it back onto the shower arm. Use a wrench or pliers, if necessary, but be careful not to overtighten.
- Test the water flow: Turn on the water and let it run for a few minutes to flush out any remaining debris. Check the water flow to ensure that it’s consistent and without any blockages.
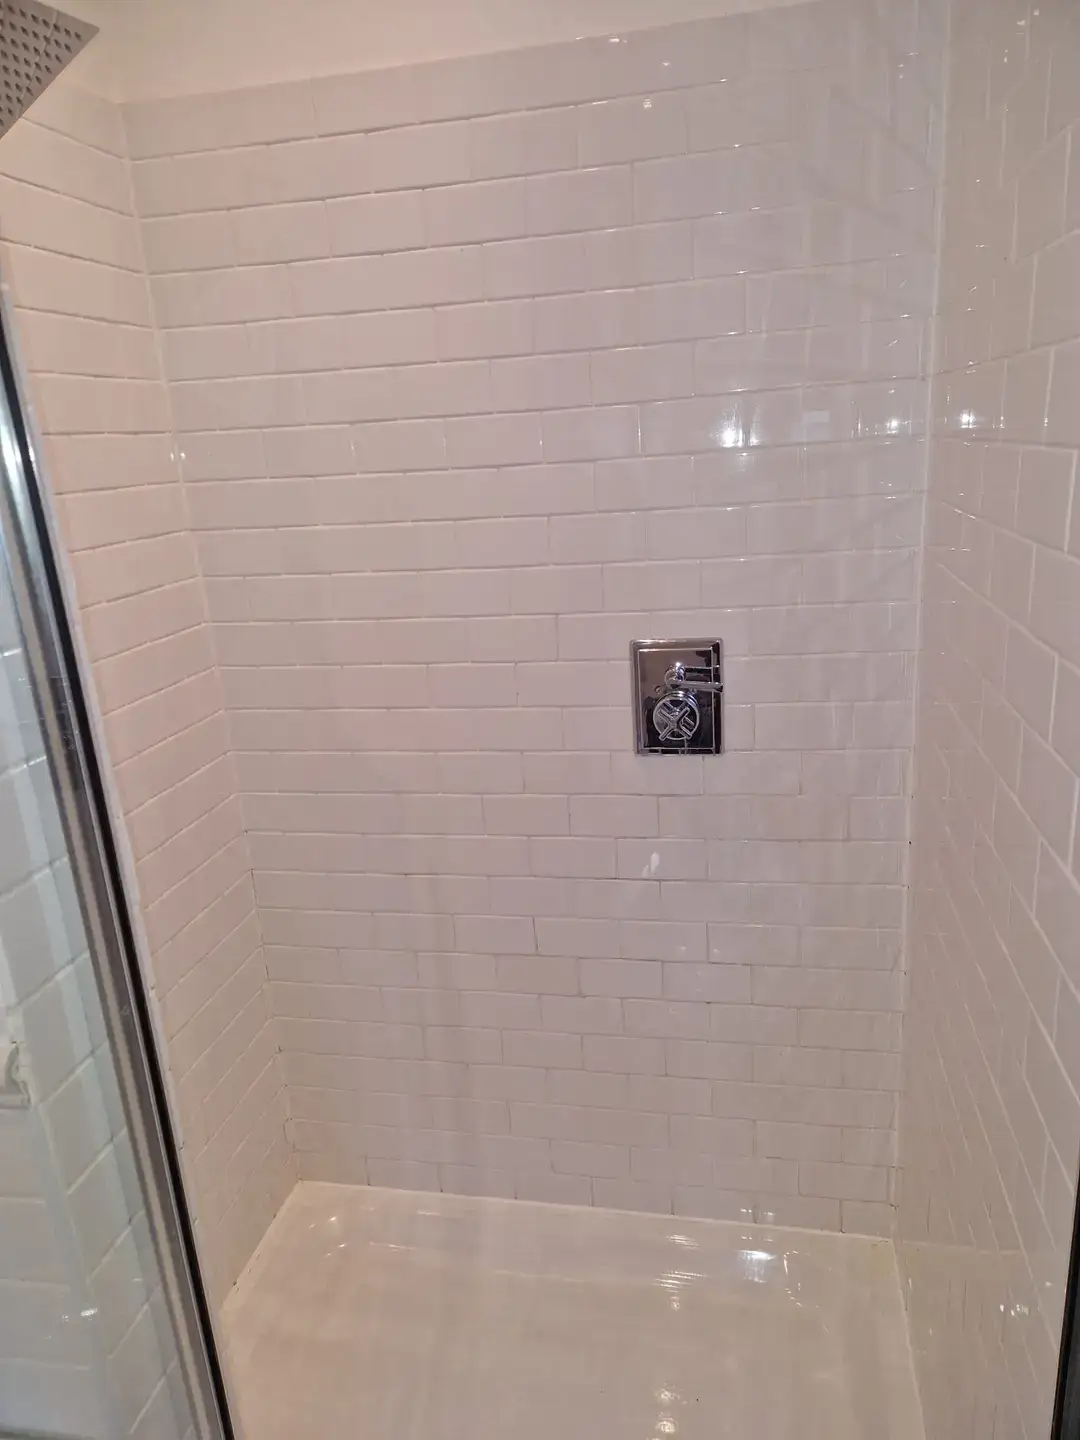
How To Clean A Glass Shower Screen
At the very least, always rinse your shower down after each use to remove soap scum, hair or debris and clean it regularly with all-purpose bathroom cleaner or a homemade vinegar-based cleaning solution if you prefer.
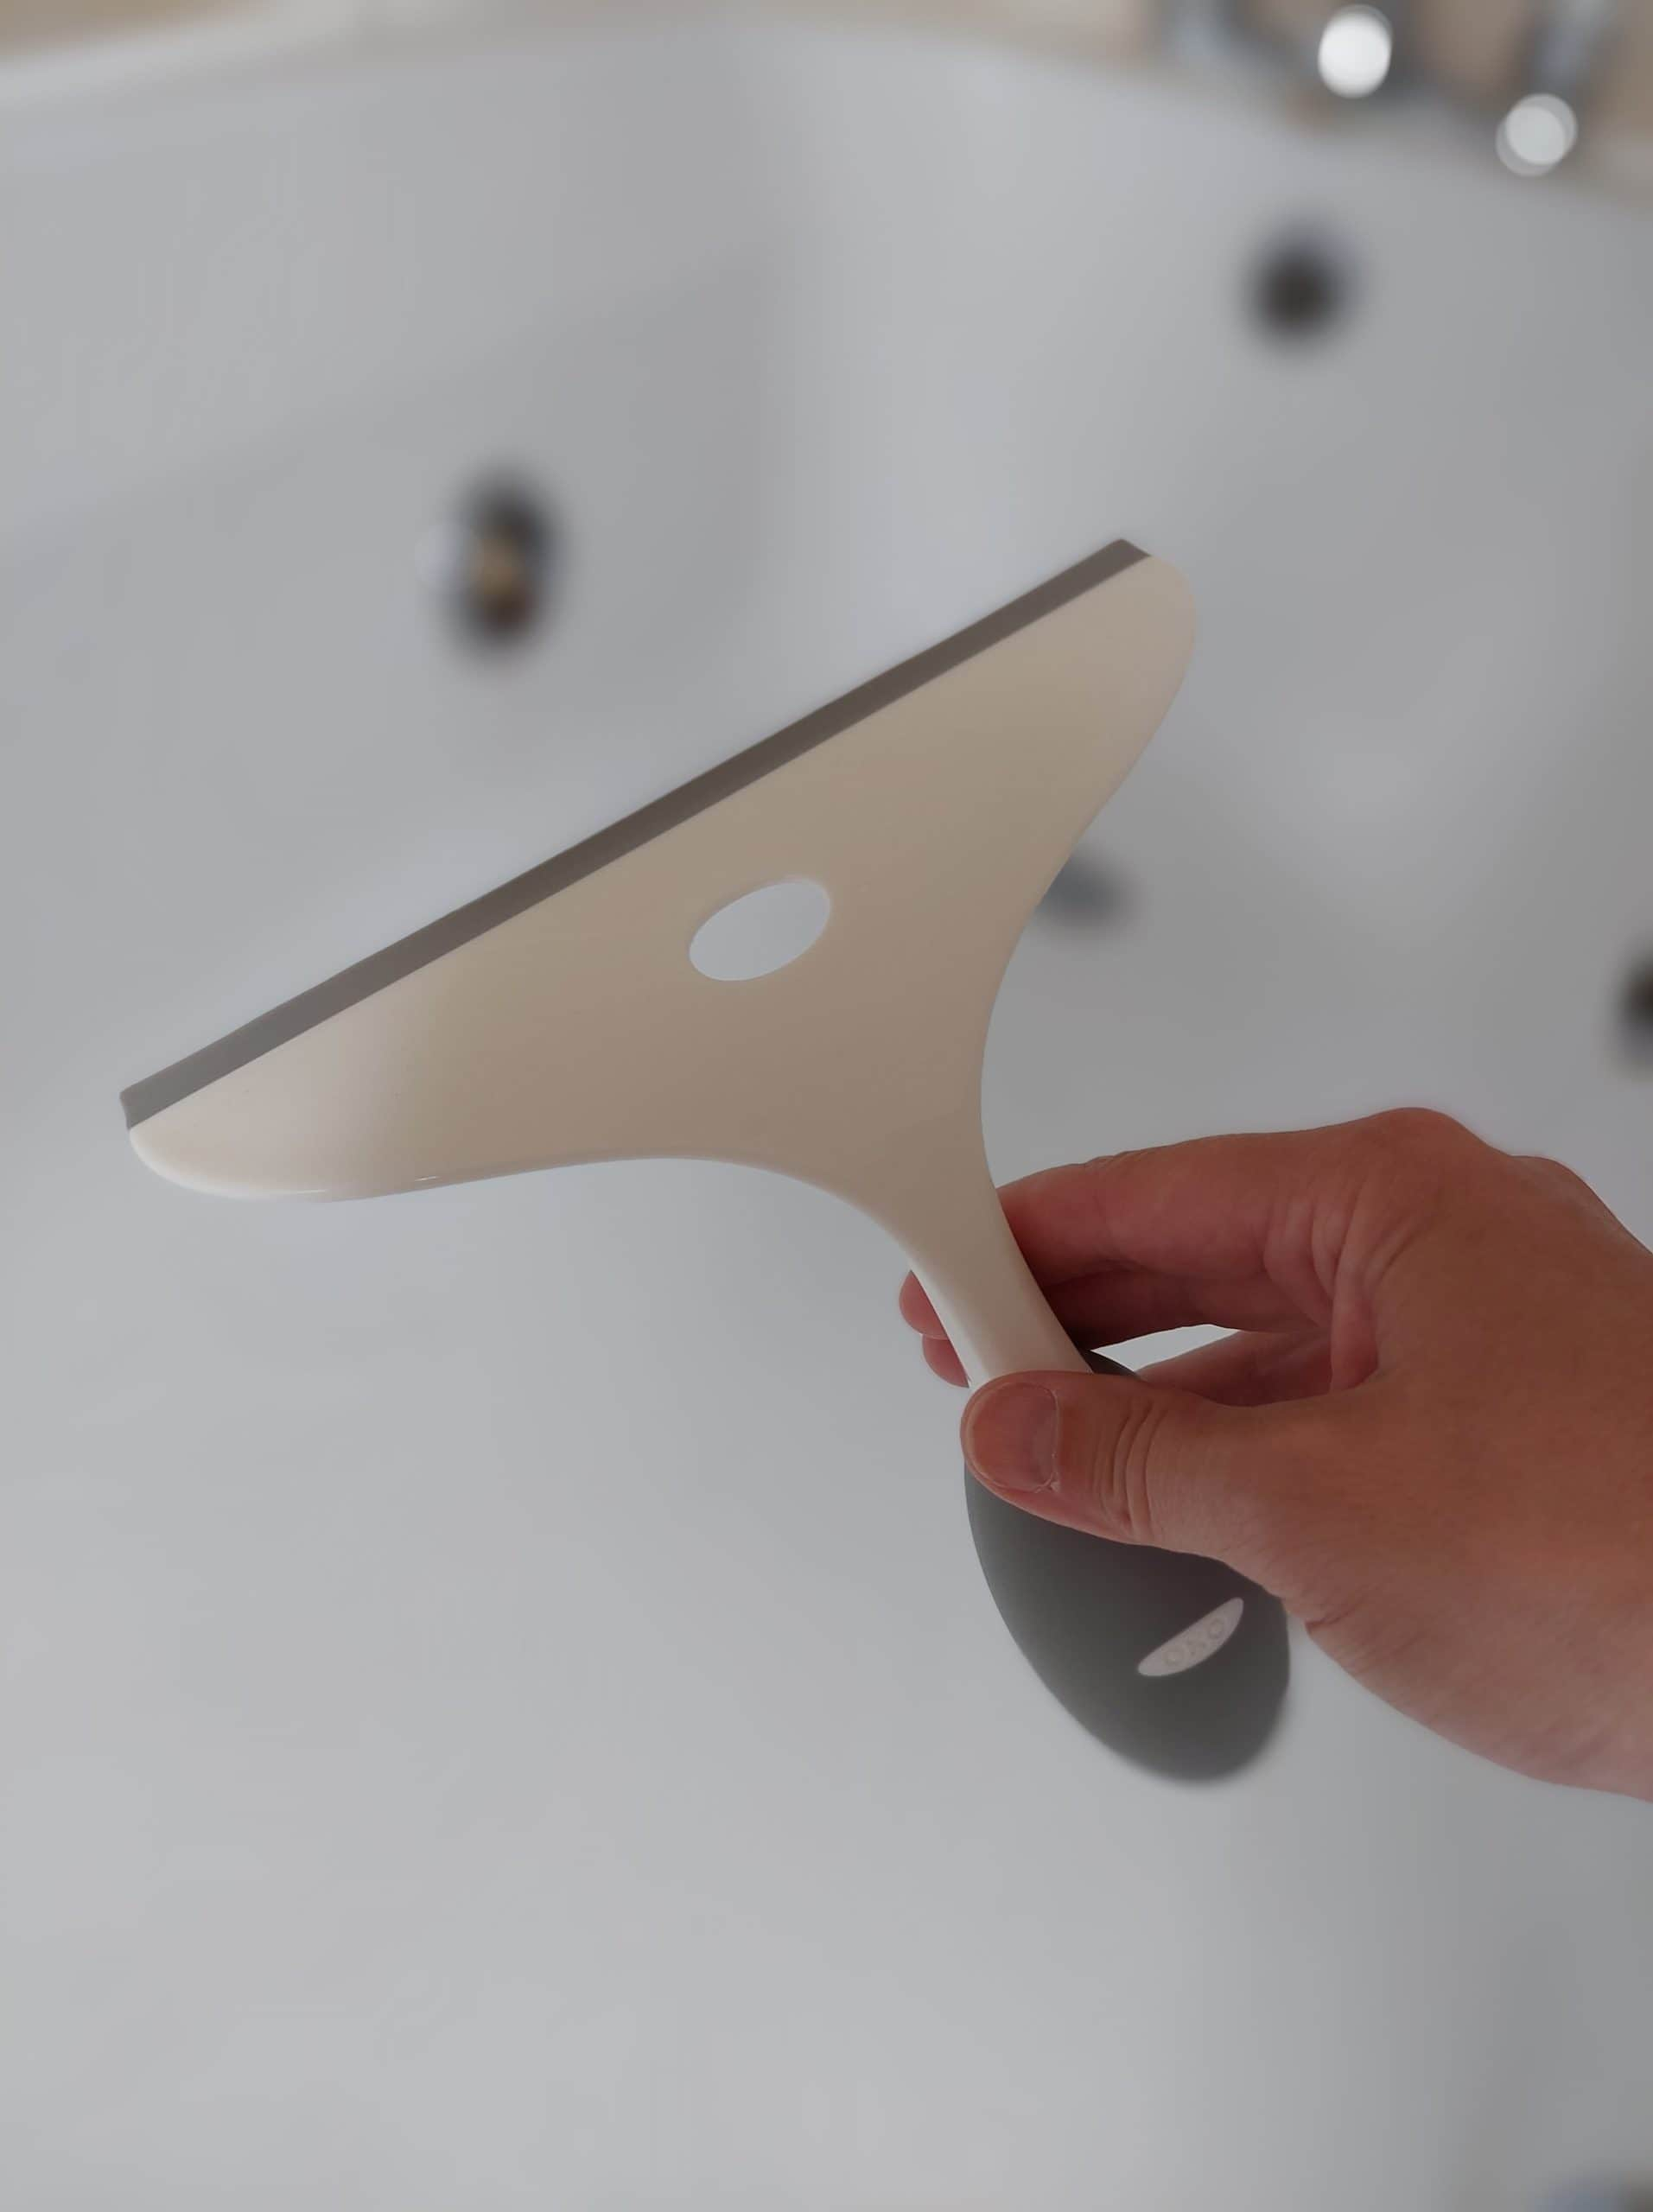
Simply coat the shower door/screen with the solution and leave it for an hour or so. Then with a cloth or sponge, wipe the cleaning solution (and any grime) away. Lastly, rinse the door with clean water until all the cleaning solution has been removed and dry the door with a microfibre cloth. Alternatively, you could also use a squeegee to do the hard work for you.

8 Top Tips For Cleaning Showers From A Plumbing Professional
Here are 8 shower cleaning tips from our Happy Dog Plumbing team:
Regular cleaning:
Clean your shower regularly to prevent the buildup of soap scum, mould, and mildew. This not only keeps the shower looking good but also prevents potential plumbing issues.
Use mild cleaners:
Avoid harsh chemicals that can damage plumbing fixtures and seals. Opt for mild cleaners or natural solutions like a mixture of vinegar and water.
Ventilation is key:
Ensure proper ventilation in your bathroom. Use exhaust fans or open windows during and after showers to reduce humidity and prevent mould growth.
Squeegee after use:
Consider using a squeegee to wipe down the shower walls and doors after each use. This helps to remove excess water and prevents mould and mineral deposits.
Inspect seals and caulking:
Regularly inspect and maintain seals and caulking around the shower. Replace any damaged or deteriorating seals to prevent water leakage.
Address leaks promptly:
If you notice any leaks, address them promptly. Leaks can lead to water damage and mould growth and fixing them early can prevent more significant issues.
Clean showerheads:
Mineral deposits can affect water flow. Remove and clean the showerhead periodically to ensure optimal water pressure.
Avoid DIY fixes for plumbing issues:
If you encounter plumbing issues beyond basic cleaning, it’s advisable to consult a professional plumber rather than attempting DIY fixes, as improper interventions can worsen the problem.
By following these tips, you can keep your shower clean, prevent plumbing issues, and ensure a longer lifespan for your bathroom fixtures.